Kona Cotton Color Chart PDF: A Comprehensive Guide (Updated 05/05/2026)
Accessing the Kona Cotton color chart in PDF format is readily available through Robert Kaufman’s official website and authorized retailers like Sew Fresh Fabrics.
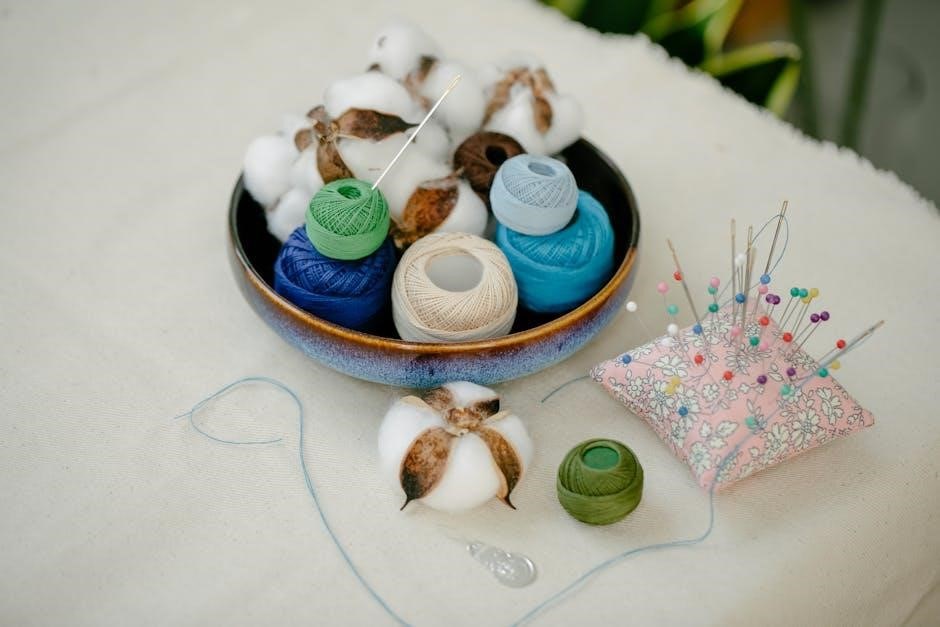
What is Kona Cotton?
Kona Cotton, produced by Robert Kaufman Fabrics, is a consistently high-quality, 100% cotton quilting fabric celebrated for its exceptional softness and vibrant color palette. It’s a staple choice for quilters, sewists, and crafters alike, known for its reliable performance throughout various projects.
Boasting a remarkable range of 365 colors, Kona Cotton provides endless possibilities for creative expression. The fabric’s even weave and smooth finish make it ideal for piecing, appliqué, and other detailed techniques.
Understanding the nuances of these colors is where a Kona Cotton color chart becomes invaluable. It serves as a visual reference, displaying each shade with its corresponding name and code, facilitating accurate color selection and project planning.
Why Use a Kona Cotton Color Chart?
A Kona Cotton color chart is essential for accurate color representation, especially when ordering fabrics online or collaborating with others. The 365-color range demands a reliable reference to ensure project cohesion and prevent unexpected mismatches.
Digital displays can vary significantly in color calibration, making on-screen hues unreliable. A chart, whether printed or digital (PDF), provides a standardized visual guide. It streamlines the selection process, allowing for informed decisions and minimizing costly errors.
Furthermore, charts aid in identifying discontinued colors, preventing frustration and guiding substitutions. They are crucial for maintaining consistency across multiple batches of fabric, ensuring a harmonious finished product.
Understanding Kona Cotton Color Codes
Kona Cotton color charts display each shade with a corresponding code, vital for precise fabric ordering and project documentation. These codes, found alongside color names on the PDF chart, ensure you receive the exact hue intended, avoiding ambiguity.
The codes act as a universal language among quilters and fabric enthusiasts, facilitating clear communication when sharing project details or requesting specific colors from different retailers. Utilizing these codes minimizes the risk of misinterpretation and ensures consistent results;
Accurate referencing of these codes, alongside the color name, is particularly important when working with online retailers or coordinating fabric purchases across multiple sources.

Where to Download a Kona Cotton Color Chart PDF
Downloadable PDFs of the Kona Cotton color chart are conveniently available from official sources like Robert Kaufman and authorized retailers, such as Sew Fresh Fabrics.
Official Robert Kaufman Website
Robert Kaufman Fabrics, the creators of Kona Cotton, offer the official color chart PDF directly on their website. This is the most reliable source for the most up-to-date and accurate color representation.
Navigating their site, you’ll find a dedicated section for Kona Cotton, where downloadable charts are typically listed. Be sure to look for the latest version, as color offerings are occasionally updated or discontinued; The official chart displays all 365 colors, complete with corresponding color codes and names, providing a comprehensive reference for your quilting projects.
Downloading from the source ensures you have the definitive guide for matching and selecting Kona Cotton fabrics. Always verify the file date to confirm you have the current chart.
Authorized Retailers: Sew Fresh Fabrics
Sew Fresh Fabrics is a trusted authorized retailer that conveniently provides the Kona Cotton color chart PDF for download. This offers an alternative access point to the official color information, especially useful if you prefer shopping through their extensive fabric selection.
Their downloadable chart mirrors the one available on Robert Kaufman’s website, showcasing all 365 colors with their corresponding codes and names. This allows for easy cross-referencing when planning your quilt or sewing projects.
Once downloaded, simply open the PDF using a viewer to access the complete color palette. Sew Fresh Fabrics consistently updates their resources, ensuring you receive the latest Kona Cotton color information.
Other Retailer Options
Beyond Robert Kaufman and Sew Fresh Fabrics, numerous other quilt shops and fabric retailers offer the Kona Cotton color chart PDF as a free download. Searching online for “Kona Cotton color chart PDF” will reveal a variety of sources, though verifying the chart’s date is crucial.
Fat Quarter Shop, for example, is a popular destination for quilt patterns and fabrics, and often links to or hosts the color chart. Always ensure the PDF you download is current, as Kona Cotton colors are occasionally discontinued or added.
Remember to open the downloaded file with a PDF viewer to accurately view the color representations and corresponding codes for seamless project planning.
Navigating the Kona Cotton Color Chart
The chart organizes colors by family, displaying all 365 shades with corresponding codes and names for easy identification and project selection.
Chart Organization by Color Family
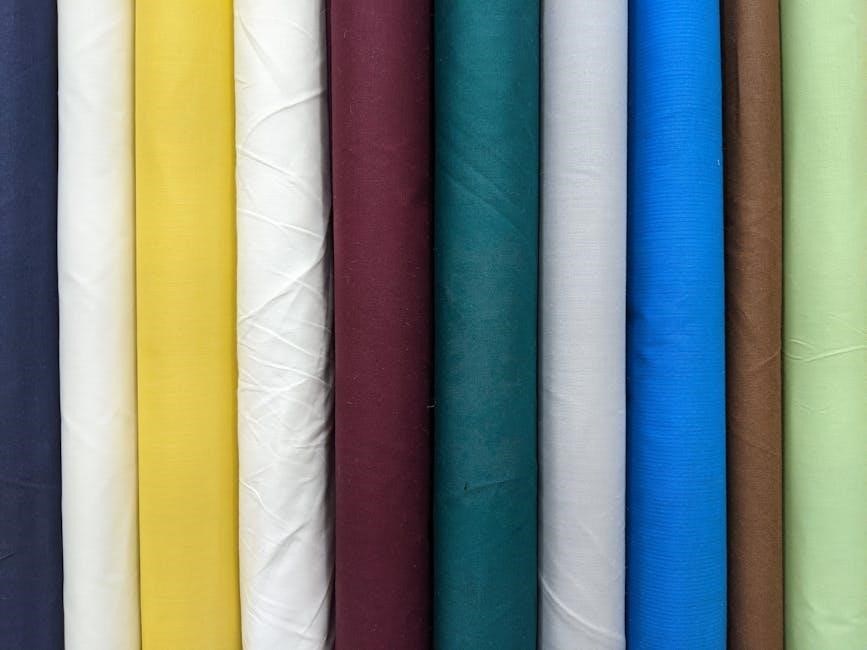
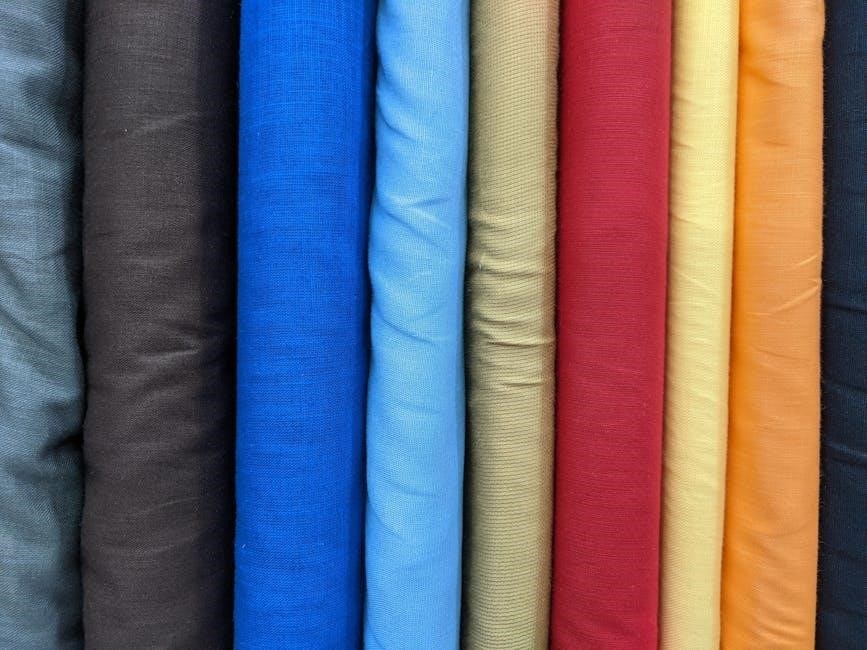
Kona Cotton’s extensive color palette is thoughtfully organized within the color chart by distinct color families. This categorization simplifies the selection process, allowing quilters and crafters to quickly locate shades within desired hues.
Families typically include reds, oranges, yellows, greens, blues, purples, pinks, browns, and, crucially, a comprehensive range of neutrals. Within each family, colors are often arranged from lightest to darkest, providing a visual gradient.
This structure facilitates harmonious color scheme development for quilt projects and other fabric crafts. The chart’s layout enables users to easily compare similar shades and identify complementary colors, streamlining the design process and ensuring cohesive results.
Understanding Color Names and Numbers
Each Kona Cotton color is assigned both a descriptive name and a unique numerical code within the official color chart. These identifiers are crucial for accurate fabric ordering and project replication. The names, while evocative, can sometimes be subjective – “Seafoam” or “Buttercup” – so the numerical code provides definitive clarity.
The codes are typically a series of numbers, offering a precise way to specify the exact shade desired. When communicating with retailers or fellow quilters, referencing both the name and the code minimizes potential misunderstandings.
Accurate identification is especially important when working with multiple dye lots, as slight variations can occur. Utilizing both naming conventions ensures consistency throughout your project.
Identifying Discontinued Colors
Kona Cotton’s color palette evolves, meaning some shades are periodically discontinued. The latest Kona Cotton color chart PDF is essential for determining current availability, as older versions may list colors no longer in production. Discontinued colors aren’t always removed from older charts immediately, creating potential confusion.
When planning a project, double-check the status of your chosen colors. Retailers often indicate discontinued shades on their websites, and Robert Kaufman may archive older charts for reference.
If a color is unavailable, consider finding a close substitute or adjusting your design. Careful planning prevents frustrating delays and ensures project completion.
Kona Cotton Neutrals: A Deeper Dive
Explore the versatile range of Kona Cotton neutrals, enhanced by a convenient cheat sheet available as a free PDF download for easy reference.
The Kona Cotton Neutrals Cheat Sheet (Free PDF)
For quilters seeking a streamlined approach to selecting neutral Kona Cotton shades, a dedicated cheat sheet proves invaluable. Lee Heinrich Designs offers a free PDF download of their Kona Cotton Neutrals Cheat Sheet, simplifying the often-overwhelming task of choosing the perfect base colors.

This handy resource consolidates a curated selection of Kona Cotton’s neutral offerings, providing a visual guide to help designers quickly identify and coordinate complementary tones. It’s particularly useful when planning quilt projects where subtle variations in neutral hues can significantly impact the overall aesthetic.
Download the cheat sheet to have a readily accessible reference point, ensuring cohesive color palettes and reducing guesswork throughout your quilting endeavors. This tool is designed to enhance your creative process and deliver stunning results.
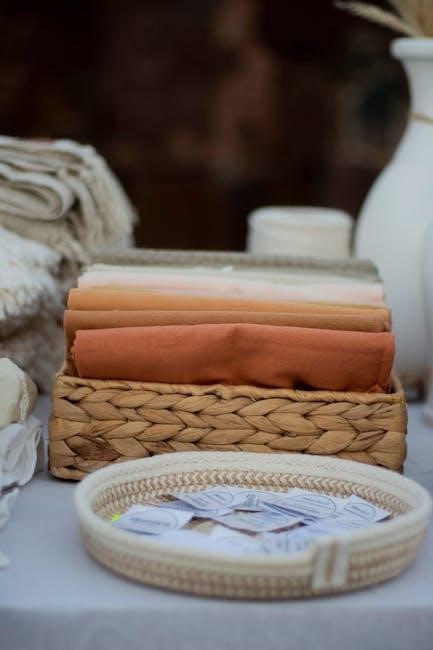
Popular Kona Cotton Neutral Shades
Within the extensive Kona Cotton palette, certain neutral shades consistently rise in popularity among quilters and fabric enthusiasts. These frequently chosen colors serve as versatile foundations for a wide array of projects, offering timeless appeal and effortless coordination.
Shades like Snow, a pristine white, and Natural, a soft off-white, are staples for creating clean and airy designs. Linen, a warm and inviting beige, and Stone, a slightly greige tone, provide subtle depth and sophistication. Furthermore, Pebble and Sand offer variations within the beige family, catering to diverse aesthetic preferences.
Utilizing these popular neutrals allows for seamless integration with bolder colors or the creation of monochromatic schemes, demonstrating their adaptability and enduring charm.
Using Neutrals in Quilt Design
Kona Cotton neutrals are incredibly versatile tools in quilt design, offering a calming backdrop that allows other colors to truly shine. They excel at creating visual space and balance within a quilt, preventing overwhelming patterns or color clashes.
Strategic placement of neutrals – in sashing, borders, or background fabrics – can highlight intricate piecing or appliqué work. Utilizing a gradient of neutral shades, from light to dark, adds subtle dimension and visual interest.
Furthermore, neutrals are perfect for modern quilt designs, minimalist aesthetics, and showcasing the texture of quilting itself. They provide a timeless foundation, ensuring your quilt remains stylish for years to come.

Kona Cotton Printed Color Chart Considerations
Digital printed charts may not perfectly match actual Kona Cotton colors due to variations in printing and screen calibration, impacting accurate color representation.
Digital vs. Actual Color Standards
Understanding the difference between digitally displayed Kona Cotton colors and the actual fabric is crucial for project planning. Robert Kaufman explicitly states that their digitally printed color charts, like the novelty fabric versions, are not expected to perfectly align with the true Kona Cotton color standards.
This discrepancy arises from the inherent limitations of digital reproduction. Monitor calibration, screen settings, and the printing process itself all introduce variations. What appears vibrant and accurate on your screen might look subtly different when viewed as a physical fabric swatch.
Therefore, relying solely on digital charts for precise color matching is not recommended. While useful for initial inspiration and broad color selection, always request physical swatches from retailers to confirm the exact shade before committing to a larger fabric purchase. This ensures your finished project reflects your intended color palette.
Limitations of Printed Charts
While printed Kona Cotton color charts offer a tangible reference, they also possess inherent limitations. The printing process itself can introduce color shifts, meaning the printed representation may not perfectly match the actual fabric hue. Factors like paper stock, ink variations, and printing technology contribute to these discrepancies.
Furthermore, printed charts are static snapshots in time. Kona Cotton’s color range evolves, with shades being discontinued and new ones introduced. An older printed chart may feature colors no longer available, leading to frustration during fabric sourcing.
Therefore, consider printed charts as a helpful guide, but always cross-reference with the latest digital chart and, ideally, obtain physical swatches for accurate color verification. Relying solely on an outdated or imperfectly printed chart can result in unexpected color variations in your finished project.
Using Digital Charts for Initial Planning
Digital Kona Cotton color charts are invaluable for the initial stages of quilt or sewing project planning. They offer the most up-to-date color selections, reflecting Robert Kaufman’s current offerings, and are easily accessible online. However, remember these are digitally represented colors.
Utilize these charts to experiment with color combinations and visualize your design before investing in fabric. Many online retailers provide interactive tools allowing you to create palettes and simulate quilt layouts. This minimizes guesswork and potential color clashes.
Despite their convenience, acknowledge that digital displays vary. Monitor calibration significantly impacts color accuracy, so treat digital charts as a starting point, always confirming with physical swatches before making final fabric purchases.
Free Quilt Patterns & Kona Cotton
Numerous free quilt patterns are available online, with many specifically designed for or recommending Kona Cotton fabrics; download PDFs easily from Fat Quarter Shop!
Finding Patterns that Specify Kona Cotton
Locating quilt patterns explicitly designed for Kona Cotton fabrics streamlines your project, ensuring color accuracy and fabric compatibility. Many designers and online retailers clearly indicate when a pattern is optimized for this popular fabric line. Fat Quarter Shop, for example, offers a curated selection of patterns that specifically mention Kona Cotton, simplifying your search process.
When browsing patterns, look for keywords like “Kona Cotton friendly” or check the fabric requirements section for specific Kona Cotton color names or numbers. Utilizing the Kona Cotton color chart PDF alongside pattern selections is invaluable. This allows you to visualize the color combinations and accurately match the pattern’s intended aesthetic. Remember to consider the overall design and how different Kona Cotton shades will interact within the finished quilt.
Downloading Free Quilt Patterns (PDF)
Numerous online resources offer free quilt patterns in PDF format, perfect for showcasing your Kona Cotton fabrics. Fat Quarter Shop provides a diverse collection, each pattern conveniently marked with a “Download Free PDF” button for instant access. Upon clicking, the file automatically saves to your computer’s designated downloads folder.
Before beginning, ensure your PDF viewer is up-to-date for optimal viewing. These free patterns often include detailed instructions, fabric requirements (sometimes specifying Kona Cotton colors!), and cutting diagrams. Utilizing the Kona Cotton color chart PDF alongside these patterns allows for precise color matching and a beautifully coordinated quilt. Explore various websites and blogs for an extensive range of free options to inspire your next project.
Fat Quarter Shop Resources
Fat Quarter Shop stands as a valuable resource when working with Kona Cotton and seeking quilt patterns. They not only offer a wide selection of Kona Cotton fabrics but also provide numerous free quilt patterns downloadable as PDFs. Each pattern features a clearly marked “Download Free PDF” button, simplifying the process of acquiring new projects.
Their website is particularly useful for finding patterns that specifically utilize Kona Cotton, allowing you to directly apply your Kona Cotton color chart PDF for accurate fabric selection. Beyond patterns, Fat Quarter Shop often features blog posts and tutorials offering inspiration and guidance for using Kona Cotton in various quilting techniques. Explore their resources to enhance your quilting experience!
Working with Kona Cotton in Projects
Proper fabric preparation, including pre-washing and ironing, is crucial for successful projects utilizing Kona Cotton, ensuring colorfastness and accurate cutting.
Best Practices for Pre-Washing
Before beginning any quilting or sewing project with Kona Cotton, pre-washing is highly recommended to prevent shrinkage and color bleeding later on. While not always strictly necessary, especially if the finished item won’t be frequently laundered, it’s a best practice for longevity.
Use a gentle cycle with cold water and a mild detergent. Avoid harsh chemicals or bleach, as these can affect the fabric’s color and integrity. Washing similar colors together is also advisable, even with Kona Cotton’s generally good colorfastness.
Tumble dry on low heat or hang to dry. High heat can cause shrinkage. Pre-washing ensures that any initial dye release occurs before your project is assembled, safeguarding the overall color scheme and preventing unwanted surprises after washing the finished quilt.
Ironing and Fabric Care
Kona Cotton generally presses beautifully, making it a joy to work with. When ironing, use a medium heat setting and steam if needed. Avoid excessively high temperatures, which could potentially scorch or damage the fabric’s fibers. A pressing cloth is always a good idea, especially when working with darker or more vibrant Kona Cotton colors.
For finished projects, follow the care instructions appropriate for the item. Quilts can typically be machine washed on a gentle cycle with cold water and tumble dried on low. However, delicate items or those with special embellishments may require hand washing or air drying.
Proper care will help maintain the vibrancy of your Kona Cotton fabrics and ensure your creations last for years to come, preserving the colors you carefully selected from the chart.
Kona Cotton and Dye Lots
Understanding dye lots is crucial when working with Kona Cotton, especially for larger projects. Dye lots refer to batches of fabric dyed at the same time, ensuring color consistency. However, slight variations can occur between different dye lots, even for the same color name and number.
When purchasing fabric, it’s best to buy enough from the same dye lot to complete your project. If you need to purchase additional fabric later, the dye lot may differ, resulting in noticeable color variations. Always check the dye lot number printed on the fabric’s selvedge edge.
Careful planning and awareness of dye lots will help you achieve a harmonious and visually appealing result, accurately reflecting the colors shown on your Kona Cotton color chart.

Troubleshooting Color Matching
Addressing color discrepancies involves checking dye lots, calibrating monitors for accurate digital viewing, and requesting physical swatches from retailers for verification.
Color Variations Between Dye Lots
Understanding that subtle, yet noticeable, color variations can occur between different dye lots of Kona Cotton is crucial for quiltmakers. These variations arise from slight differences in the dyeing process, even when using the same color name and code. Therefore, purchasing all the fabric needed for a project simultaneously is highly recommended to ensure consistency.
If acquiring fabric over time, carefully compare the shades before combining them. Consider using fabric from the same dye lot whenever possible, especially for large blocks or areas of solid color. Acknowledging these potential differences allows for proactive planning and minimizes unexpected results during your quilting endeavors. Remember that even within a single dye lot, minor shading can exist, but it’s generally less pronounced than between separate lots.
Monitor Calibration for Digital Viewing
Accurate color representation on your computer screen is vital when using a digital Kona Cotton color chart PDF. However, uncalibrated monitors can significantly distort colors, leading to mismatches between what you see and the actual fabric. Therefore, regularly calibrating your monitor ensures a more reliable visual reference.
Utilize built-in operating system calibration tools or dedicated monitor calibration devices for optimal results. Remember that ambient lighting also influences perceived color, so view the chart under consistent lighting conditions. Acknowledging these factors minimizes discrepancies and helps you select fabrics with greater confidence. Always cross-reference digital colors with physical swatches when possible for the most accurate matching.
Requesting Swatches from Retailers
Despite the convenience of digital Kona Cotton color charts, physical swatches remain invaluable for accurate color matching. Differences in monitor calibration and lighting can distort digital representations, making it crucial to see the actual fabric. Most authorized retailers, such as Sew Fresh Fabrics and Robert Kaufman, offer swatch services.
Requesting swatches allows you to assess the true color and texture of Kona Cotton before committing to a purchase. This is particularly important for projects requiring precise color coordination. Consider requesting multiple shades to compare and contrast, ensuring the perfect match for your quilt or sewing project. Utilizing swatches minimizes costly errors and guarantees satisfaction.
Kona Cotton Color Chart Updates & Versions
Regularly check Robert Kaufman’s website for the latest chart releases and archived versions to stay informed about any Kona Cotton color changes.
Checking for the Latest Chart Release
Staying current with the Kona Cotton color chart is crucial, as Robert Kaufman frequently updates its offerings. The most reliable method for verifying you have the newest version is to visit the official Robert Kaufman Fabrics website directly. Look for a dedicated section for Kona Cotton, often within their fabric collections area.
Specifically, search for a downloadable PDF clearly labeled with the current date – as of today, May 5th, 2026. Pay attention to any version numbers or release notes accompanying the chart. Authorized retailers, such as Sew Fresh Fabrics, will typically update their downloadable charts as well, but confirming directly with Robert Kaufman ensures accuracy.
Remember that color availability can change, and discontinued colors are removed from newer charts. Regularly checking prevents project mismatches and ensures your designs reflect the current Kona Cotton palette.
Archived Color Charts
For projects requiring precise color matching to older designs, accessing archived Kona Cotton color charts is essential. Robert Kaufman doesn’t always prominently display older versions, but they are often available upon request through their customer service channels. Contacting them directly, with specific details about the year or chart version needed, increases your chances of success.
Alternatively, dedicated quilting communities and online forums frequently archive older charts shared by fellow enthusiasts. A thorough online search, using keywords like “Kona Cotton archived color chart [year]” can yield valuable results. However, always verify the source’s reliability before relying on downloaded charts from unofficial sources.
Keep in mind that discontinued colors won’t be available in current production, so archived charts are vital for accurate reproduction of past projects.
Staying Informed About Color Changes
To avoid unexpected color discrepancies in your quilting projects, proactively staying informed about Kona Cotton color updates is crucial. Regularly checking Robert Kaufman’s official website for announcements regarding new color releases or discontinuations is a great starting point. Subscribing to their newsletter ensures you receive direct notifications about changes.
Furthermore, following Sew Fresh Fabrics and other authorized retailers on social media platforms like Facebook and Instagram provides timely updates. These retailers often announce new colors and share information about discontinued shades. Engaging with online quilting communities and forums allows you to learn from other quilters’ experiences.
Remember that color charts are updated periodically, so consistent monitoring is key to maintaining accuracy.