Shorts sewing patterns offer a versatile way to create custom apparel. With various styles and sizes, these patterns are perfect for all skill levels. PDF formats provide easy access and step-by-step guides for a seamless sewing experience, making DIY fashion enjoyable and rewarding.

Popular Types of Shorts Sewing Patterns
Explore diverse shorts sewing patterns, from trendy wide-leg and cargo styles to athletic and high-waisted designs. These patterns cater to various preferences and occasions, offering versatility for both casual and formal looks. PDF formats ensure easy access and customization.
2.1 Women’s Shorts Patterns
Women’s shorts patterns offer a wide range of stylish and comfortable designs. From high-waisted shorts with elastic waistbands to trendy wide-leg and paperbag styles, these patterns cater to various body types and preferences. Many designs feature practical details like pockets, while others focus on a more fashionable, form-fitting silhouette. Lightweight fabrics such as linen, cotton, and chambray are ideal for creating breathable summer shorts. Patterns often include adjustable waistbands and customizable hems, allowing for a perfect fit. Whether you’re looking for casual, athletic, or elegant shorts, these sewing patterns provide step-by-step guides to help you create a wardrobe staple. PDF formats make it easy to download and print at home, while video tutorials and detailed instructions ensure a smooth sewing process. With sizes ranging from XS to XL, these patterns are inclusive and versatile, making them a great choice for sewists of all skill levels.
2.2 Men’s Shorts Patterns
Men’s shorts patterns are designed to offer both style and functionality. Whether you’re aiming for casual wear, athletic performance, or a more formal look, these patterns cater to diverse needs. Popular styles include cargo shorts, known for their practicality and multiple pockets, and classic tailored shorts, perfect for a polished appearance. Athletic shorts with elastic waistbands and breathable fabrics are ideal for active lifestyles. Many patterns feature adjustable waistbands and customizable inseam lengths, ensuring a perfect fit. Durable fabrics like denim and twill are commonly recommended for men’s shorts, offering both comfort and longevity. PDF patterns provide easy access to step-by-step guides, making it simpler for sewists of all skill levels to create professional-looking shorts. With options ranging from relaxed fits to slim designs, these patterns allow for personalization to suit individual preferences. Video tutorials and detailed instructions further enhance the sewing experience, ensuring that even beginners can achieve impressive results. Men’s shorts patterns are a great way to expand your wardrobe with custom-made, high-quality garments.
2.3 Kids’ Shorts Patterns

Kids’ shorts patterns are a popular choice for parents and sewists alike, offering a practical and fun way to create durable, comfortable clothing for children. These patterns are designed to accommodate the energetic lifestyles of kids, with features like adjustable waistbands, reinforced seams, and plenty of pocket options. Many patterns are simple and quick to sew, making them ideal for beginners or those looking for a fast project. Styles range from basic shorts with pockets to more decorative designs, such as bubble shorts or beach-themed patterns with colorful trims. Elastic waistbands and breathable fabrics like cotton ensure comfort, while customizable inseam lengths allow for a perfect fit. Patterns often include multiple sizes, catering to children from toddlers to preteens. Video tutorials and step-by-step guides make it easy to follow along, even for those new to sewing. With kids’ shorts patterns, you can create stylish, functional garments that keep up with their active lives while adding a personal touch to their wardrobe.
Beginner-Friendly Sewing Patterns
Beginner-friendly sewing patterns are designed to make the process of creating shorts enjoyable and stress-free for those new to sewing. These patterns typically feature simple designs, clear instructions, and minimal pieces to cut and sew. Many include step-by-step guides, video tutorials, and tips for common mistakes, ensuring that even novices can achieve professional-looking results. Popular styles for beginners include elastic waistband shorts, straight-leg designs, and patterns with pre-printed seam allowances. These patterns often require minimal fabric and basic sewing tools, making them accessible to everyone. Additionally, many beginner-friendly patterns are available as free downloadable PDFs, allowing users to print and start sewing immediately. They cater to a variety of skill levels, offering a great way to build confidence and improve sewing skills. With these patterns, anyone can create custom, well-fitting shorts that are both stylish and comfortable. The focus is on ease and simplicity, making the sewing experience rewarding and enjoyable from start to finish.
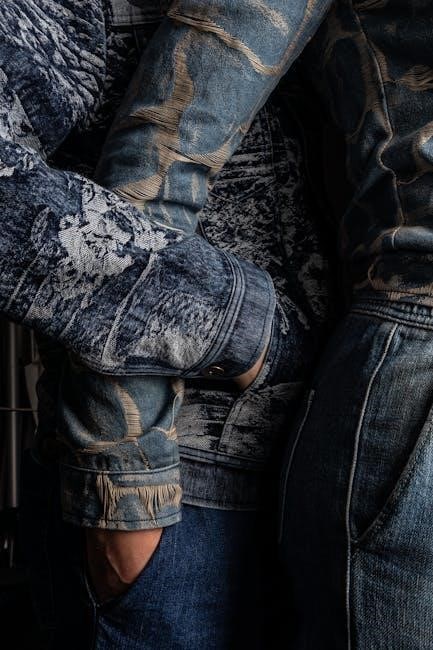
Choosing the Right Fabric
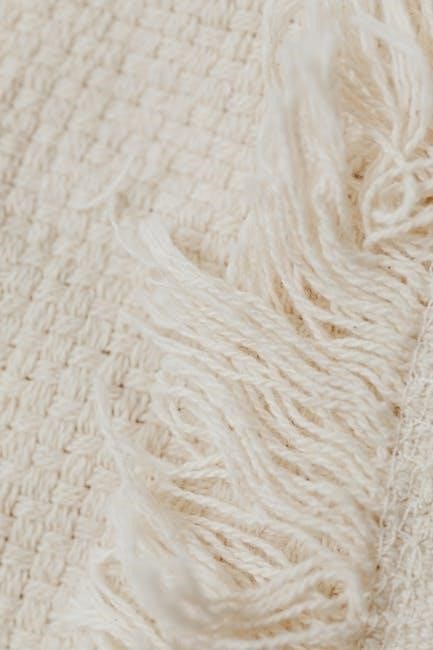
Selecting the appropriate fabric is crucial for creating comfortable and stylish shorts. Natural fibers like cotton, linen, and rayon are ideal for summer due to their breathability and soft texture. For a more structured look, denim or chambray can be used, offering durability and a classic appeal. Stretch fabrics, such as knit or spandex blends, are perfect for activewear or form-fitting designs, providing flexibility and comfort during movement. Light to medium-weight fabrics are generally recommended for shorts, as they drape well and ensure ease of movement. When choosing a fabric, consider the season, intended use, and desired style. For example, sweatshirt material works well for loungewear, while woven fabrics like twill or corduroy add a rugged touch for casual wear. Always pre-wash and dry your fabric before sewing to ensure proper fit and avoid shrinkage. By matching the fabric type to your pattern and lifestyle, you can create shorts that are both functional and fashionable. This step is key to achieving a professional finish and long-lasting wear.
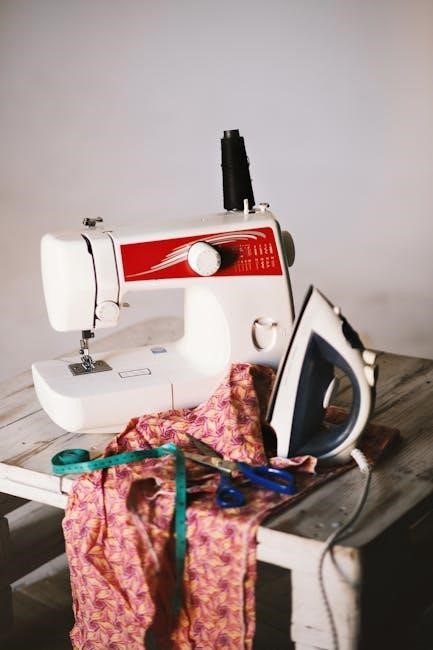
Step-by-Step Sewing Instructions
Follow a shorts sewing pattern PDF for precise measurements and guides. Start by cutting fabric accurately, then sew pieces together, adding details like pockets or waistbands. Finish seams and hem edges for a professional touch. Use video tutorials for extra guidance.
5.1 Using PDF Patterns
Using a shorts sewing pattern PDF is a convenient and efficient way to create custom shorts. These digital files can be downloaded instantly and printed at home, offering flexibility for various sizes and styles. Most PDF patterns include detailed instructions, measurements, and diagrams to guide you through the sewing process. Begin by downloading and printing the pattern, ensuring your printer is calibrated for accurate sizing. Cut out the pattern pieces carefully, matching notches and markings to align fabric correctly. Layered PDFs allow you to select specific sizes, reducing waste and streamlining the cutting process. Once your fabric is cut, follow the step-by-step sewing instructions to assemble the shorts, adding features like pockets, waistbands, or zippers as desired. PDF patterns often include tips for common adjustments, such as altering inseam lengths or waistband styles, making them ideal for both beginners and experienced sewists. With a shorts sewing pattern PDF, you can achieve professional results while enjoying the flexibility of digital sewing tools.
5.2 Video Tutorials and Guides
Video tutorials and guides are invaluable resources for mastering the art of sewing shorts, especially when paired with a shorts sewing pattern PDF. These visual aids provide step-by-step instructions, making complex techniques easier to understand. Many PDF patterns include links to video guides that demonstrate processes like cutting fabric, sewing pockets, and attaching waistbands. Tutorials often cover specific skills, such as installing zippers, creating fly fronts, or stitching elastic waistbands. Beginners benefit from seeing how to align pattern pieces and manage fabric, while experienced sewists can refine their techniques. Videos also offer tips for troubleshooting common mistakes, ensuring a polished finish. Some platforms provide interactive guides, allowing viewers to pause and rewind as they follow along. With video tutorials, sewists can confidently tackle projects, turning a pattern into a professional-looking garment. These guides enhance the sewing experience, making even intricate details achievable for all skill levels.
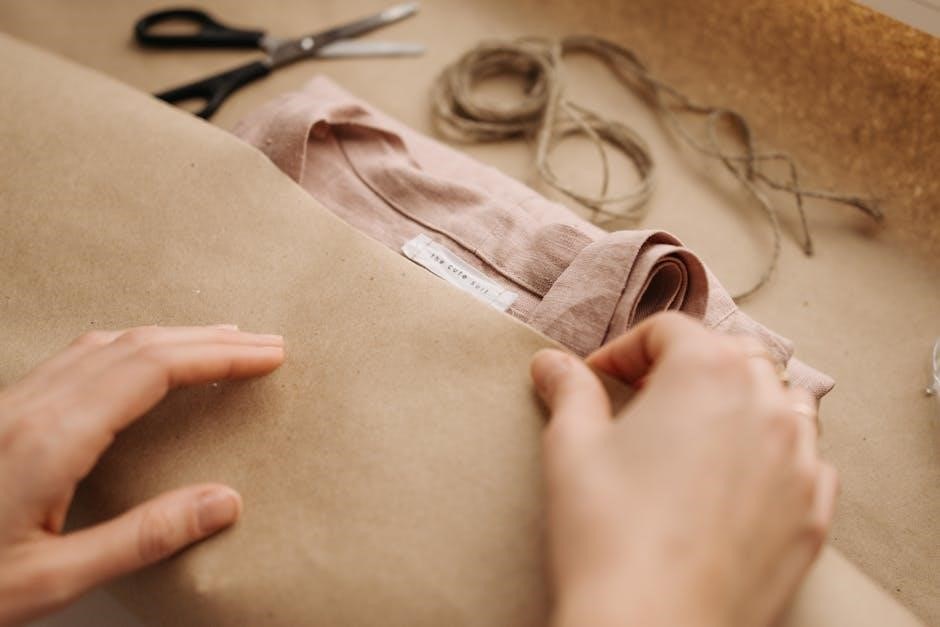
Customization Options
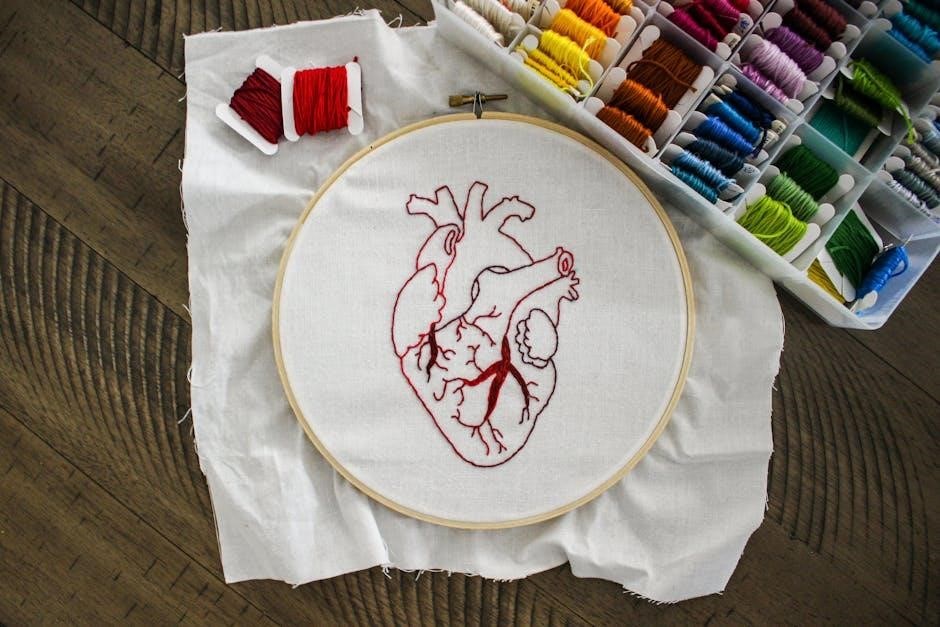
Customizing your shorts with a shorts sewing pattern PDF allows you to tailor the design to your preferences. From waistbands to pockets, every detail can be adjusted for a personalized fit. Choose between elastic waistbands, drawstrings, or zippered closures for comfort and style. Pockets can be added or omitted, and their placement and size can vary to suit your needs. Hem lengths are also customizable, offering options like cuffed, rolled, or plain finishes. Embellishments such as lace trim, embroidery, or appliques can add a unique touch. Fabric selection plays a significant role in customization, with choices like linen, denim, or chambray offering different textures and looks. Additionally, you can experiment with contrasting thread colors or topstitching for a decorative edge. Patterns often include multiple views, allowing you to mix and match features to create a one-of-a-kind design. With these customization options, you can craft shorts that reflect your personal style while ensuring a perfect fit. This flexibility makes sewing your own shorts a fun and creative experience.