Mercedes-Benz‚ renowned for innovation‚ offers manual transmission cars that blend tradition with performance. These vehicles provide a unique driving experience‚ appealing to enthusiasts who value control and connection. While modern cars lean toward automation‚ manual transmissions remain a cherished choice for purists seeking an authentic drive.
1.1 Brief Overview of Mercedes Manual Transmission Cars
Mercedes-Benz‚ a pioneer in automotive engineering‚ has long offered manual transmission options in select models‚ catering to driving purists who value precision and control. These cars feature a gearbox that requires manual shifting‚ providing a direct connection between the driver and the vehicle. With a rich history dating back to the early 20th century‚ Mercedes manual transmission cars have evolved significantly‚ yet they retain the essence of traditional driving. Modern iterations often combine sleek design‚ advanced technology‚ and exhilarating performance‚ making them a favorite among enthusiasts. The manual transmission not only enhances fuel efficiency in certain conditions but also delivers a more engaging driving experience. For decades‚ Mercedes has perfected this mechanical artistry‚ ensuring that every shift feels intentional and satisfying. While the market increasingly favors automatic and dual-clutch transmissions‚ Mercedes continues to honor the legacy of manual driving‚ offering it in specific trims and performance-oriented models. This dedication reflects the brand’s commitment to catering to diverse driver preferences and preserving the joy of manual driving in an era dominated by automation.
1.2 Importance of Manual Transmissions in Automotive Enthusiast Culture

Manual transmissions hold a revered place in automotive culture‚ embodying a deep connection between driver and machine that resonates with enthusiasts. The tactile experience of shifting gears‚ the nuance of throttle control‚ and the mastery required to drive smoothly create a sense of accomplishment and engagement that automatics often lack. For Mercedes enthusiasts‚ the manual transmission symbolizes a commitment to driving as an art form‚ where every shift is a deliberate act that enhances the joy of the journey. This preference isn’t just about functionality; it’s a badge of honor‚ signifying a driver who values precision‚ control‚ and the raw‚ unfiltered driving experience. Moreover‚ the manual transmission fosters a sense of community among enthusiasts‚ creating a shared understanding and appreciation for the mechanical intricacies of their vehicles. In an era dominated by automation‚ the persistence of manual transmissions in Mercedes cars underscores their enduring appeal and the timeless allure of driving in its purest form. For those who embrace this tradition‚ the manual transmission is more than a gearbox—it’s a celebration of driving’s heritage and a testament to the irreplaceable human touch behind the wheel.

History of Manual Transmission in Mercedes Cars
Mercedes-Benz has a rich history with manual transmissions‚ dating back to its early models. These transmissions were initially simple‚ durable‚ and designed for reliability. Over the years‚ they evolved to include synchromesh technology and advanced gear designs‚ enhancing both performance and driver experience. This legacy continues to influence modern Mercedes cars.
2.1 Evolution of Manual Transmissions in Mercedes-Benz History
The evolution of manual transmissions in Mercedes-Benz history reflects a commitment to innovation and performance. Early models‚ such as the Model K in the 1920s‚ featured basic manual gearboxes with limited gears. By the 1930s‚ Mercedes-Benz introduced synchromesh technology‚ improving shifting smoothness and driver convenience. The 1950s and 1960s saw the development of four- and five-speed manual transmissions‚ offering better control and fuel efficiency. These advancements were integral to the success of iconic models like the 300SL and W110.
In the 1980s‚ Mercedes-Benz introduced lightweight materials and refined gear ratios‚ enhancing both performance and reliability. The 1990s brought electronic integration‚ with features like rev-matching and hill-start assist‚ blending tradition with modern technology. Today‚ while automatic and dual-clutch transmissions dominate‚ Mercedes-Benz continues to offer manual options in select models‚ catering to purists who value the tactile driving experience.
This evolution underscores Mercedes-Benz’s dedication to balancing heritage and innovation‚ ensuring that manual transmissions remain a viable choice for enthusiasts. Each generation of manual transmissions not only improved functionality but also reinforced the brand’s reputation for engineering excellence. The legacy of these transmissions is a testament to Mercedes-Benz’s enduring connection with automotive tradition and driver engagement.

2.2 Why Manual Transmissions Were Popular in Mercedes Cars
Manual transmissions have long been a beloved feature in Mercedes-Benz cars‚ appealing to driving purists and enthusiasts. The tactile connection between driver and vehicle‚ along with the precision of gear shifts‚ offered a unique driving experience that automatic transmissions couldn’t match. For decades‚ manual transmissions were synonymous with performance‚ control‚ and a deeper engagement with the road.
The popularity of manual transmissions in Mercedes cars can also be attributed to their historical significance. Early Mercedes models‚ such as the iconic 300SL and W110‚ were often equipped with manual gearboxes‚ which became a hallmark of the brand’s heritage. These transmissions were not only functional but also carried a nostalgic value‚ evoking memories of classic automotive design and driving culture.
Additionally‚ manual transmissions were often more fuel-efficient and cost-effective compared to their automatic counterparts. This practicality‚ combined with the emotional appeal of driving a manual‚ made them a preferred choice for many Mercedes owners. The reliability and durability of Mercedes’ manual transmissions further solidified their reputation‚ ensuring they remained a popular option for drivers who valued both performance and tradition.
Overall‚ the enduring popularity of manual transmissions in Mercedes cars reflects a blend of driving passion‚ practical benefits‚ and a connection to the brand’s storied history. They represent a timeless element of automotive culture that continues to resonate with enthusiasts worldwide.

Popular Mercedes Models with Manual Transmission
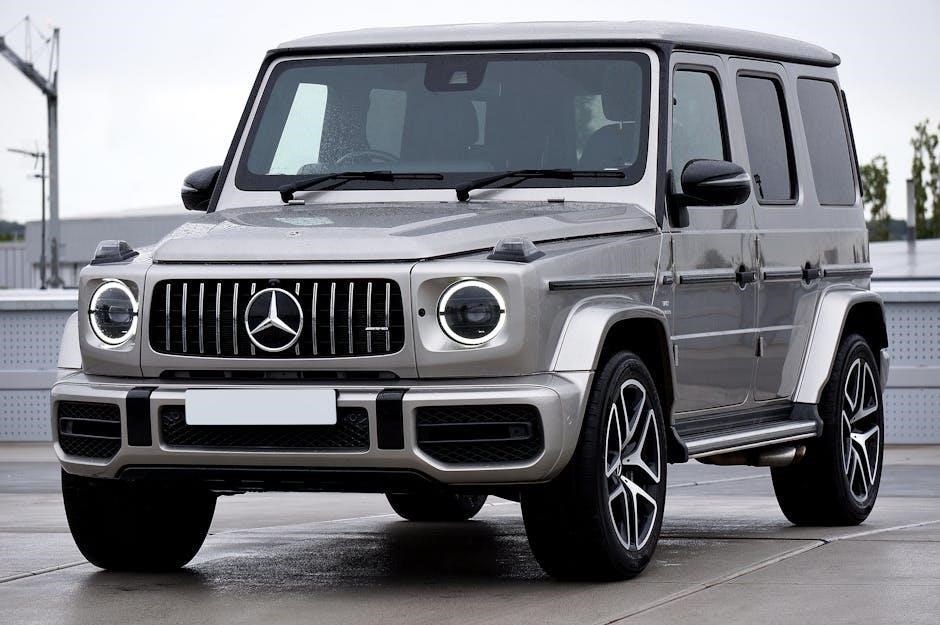
Mercedes-Benz has produced several iconic models with manual transmissions‚ cherished by driving enthusiasts. Classic models like the 300SL and W110‚ alongside modern offerings such as the AMG GT and select C-Class variants‚ showcase the brand’s commitment to delivering precise‚ engaging driving experiences with manual gearboxes.
3.1 Classic Mercedes Models with Manual Transmission Options
Mercedes-Benz has a rich history of producing iconic manual transmission cars that are revered by collectors and enthusiasts. The 300SL Gullwing‚ for instance‚ is a legendary sports car from the 1950s‚ featuring a four-speed manual gearbox that complements its powerful inline-six engine. Another classic model is the W110 series‚ known for its durability and simplicity‚ offering a four-speed manual transmission that appealed to both everyday drivers and enthusiasts;
The 190SL‚ a stylish roadster from the 1950s‚ also came with a four-speed manual transmission‚ making it a favorite among those who valued both elegance and driving engagement. Additionally‚ the W113 Pagoda‚ with its distinctive roof design‚ featured a manual transmission option‚ blending classic styling with precise shifting. These vintage Mercedes models not only showcase the brand’s engineering excellence but also highlight the timeless appeal of manual transmissions in creating a more connected driving experience.
For many enthusiasts‚ these classic Mercedes models embody the spirit of driving‚ offering a level of mechanical interaction that modern automatics cannot replicate. Their enduring popularity in the collector’s market underscores the significance of manual transmissions in Mercedes-Benz’s heritage and automotive culture as a whole.

3.2 Modern Mercedes Cars That Still Offer Manual Transmission
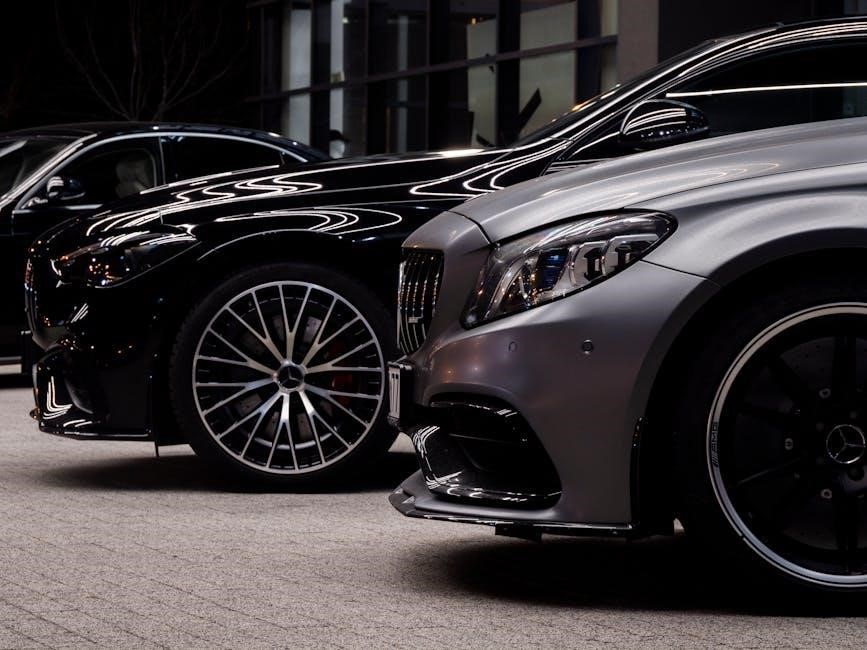
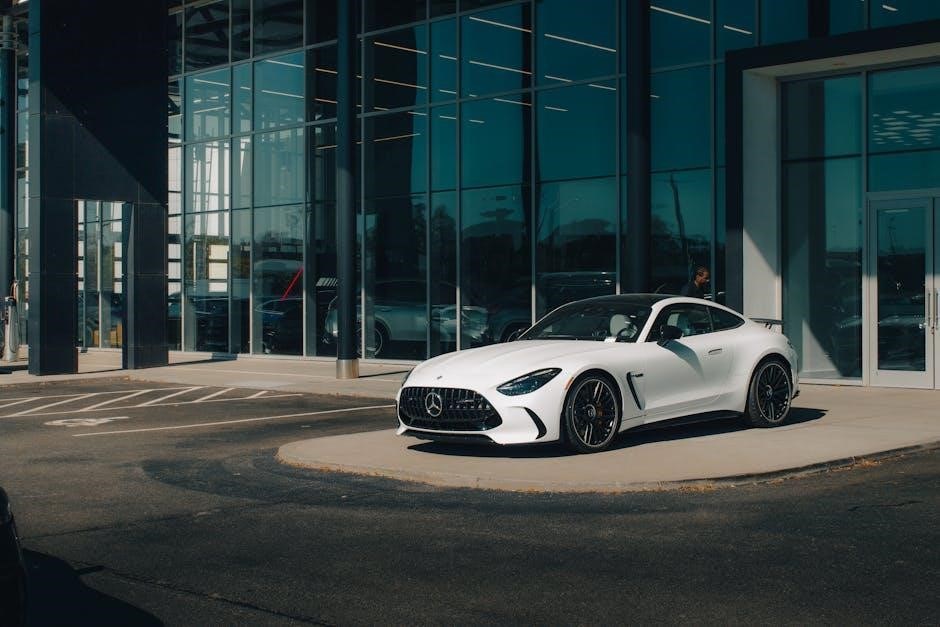
While the automotive industry increasingly favors automatic and dual-clutch transmissions‚ Mercedes-Benz continues to cater to driving purists by offering manual transmission options in select modern models. The Mercedes-AMG GT‚ for instance‚ retains a seven-speed manual gearbox‚ blending vintage driving dynamics with cutting-edge performance. Similarly‚ the C-Class and E-Class lines‚ in certain trim levels‚ provide a manual transmission option‚ particularly in European markets‚ where demand for manual cars remains strong.
In addition‚ the CLA and GLA compact models occasionally feature manual transmission options‚ especially in sport-oriented configurations. These modern manual Mercedes cars are equipped with advanced driver-assistance systems and sleek interiors‚ yet they maintain the tactile connection of a manual gearbox. Mercedes also releases limited-edition manual models to celebrate its heritage‚ such as the AMG E 63 S “Final Edition‚” which pays homage to the brand’s legacy of mechanical precision.
By offering manual transmissions in these modern cars‚ Mercedes-Benz appeals to enthusiasts who value the art of shifting gears and the immersive driving experience it provides. This commitment to tradition ensures that the joy of manual driving remains accessible‚ even in an era dominated by automatics and electrification.