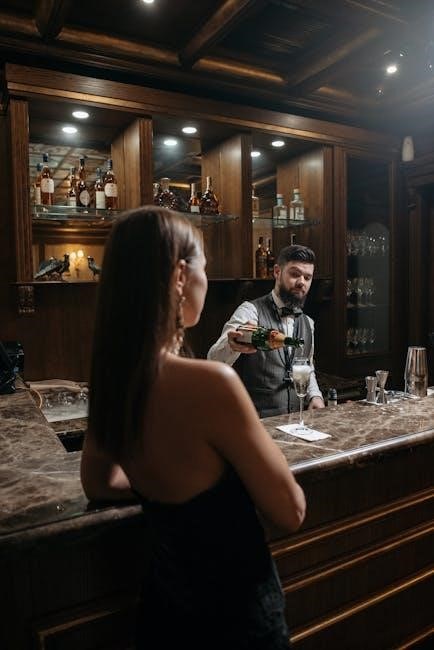
Welcome to the world of bartending, where creativity meets technique. Bartending has evolved into an art form, blending flavors and presenting drinks with elegance. Essential tools like shakers, muddlers, and jiggers empower mixologists to craft timeless classics and innovative creations. Understanding balance and flavor profiles is key to mastering cocktails, ensuring each sip is harmonious. This guide will walk you through the basics, classic recipes, advanced techniques, and seasonal inspiration to elevate your bartending skills. Whether you’re a professional or a home enthusiast, let’s explore the fascinating realm of mixology together.
The Basics of Mixology
Mixology is the art and science of crafting cocktails, focusing on understanding spirits, mixers, and flavor profiles. It begins with mastering key components: sweet, sour, strong, and weak elements. Balance is crucial, ensuring harmony in each sip. Classic mixers like citrus juices and syrups enhance flavors, while bitters add depth. Fresh ingredients and proper techniques elevate drinks. Mixology encourages creativity but also respects timeless recipes. By grasping these fundamentals, bartenders can experiment confidently, creating unique yet balanced cocktails that delight the palate. This foundation is essential for every aspiring mixologist.
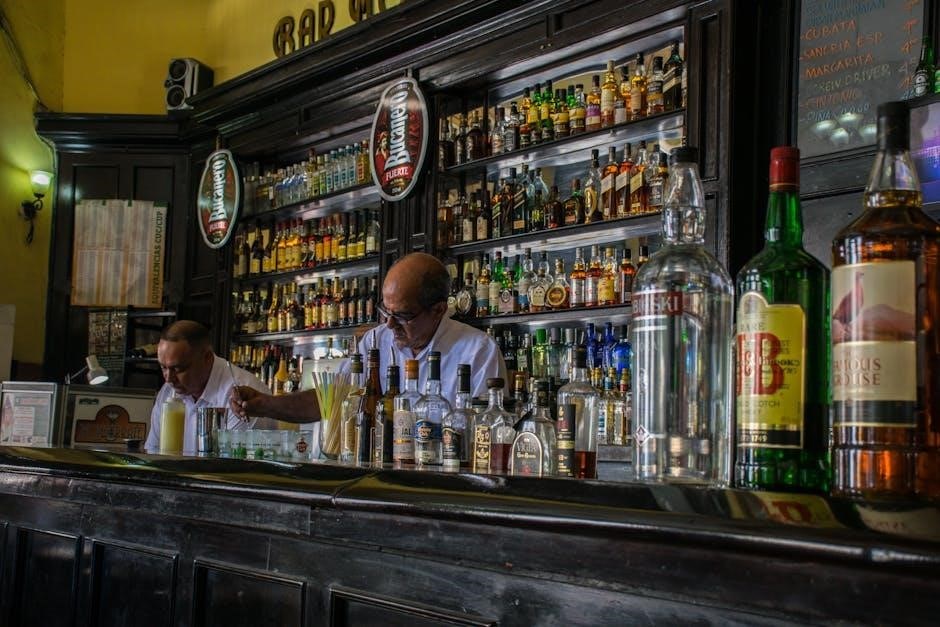
Essential Bar Tools and Equipment
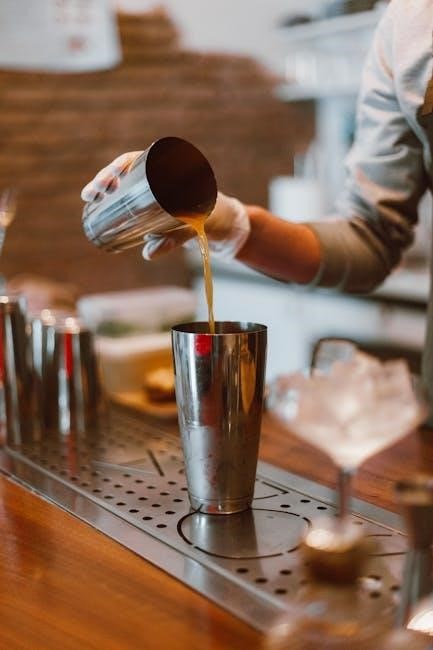
The right tools are fundamental to crafting exceptional cocktails. A cocktail shaker is indispensable for mixing and chilling ingredients, while a jigger ensures precise measurements. A muddler is perfect for crushing fruits and herbs, releasing their flavors. Strainers, like the hawthorne and julep, prevent ice and solids from entering the glass. A bar spoon is essential for stirring and layering drinks. Other must-haves include a citrus juicer, bitters bottle, and ice scoop. These tools empower bartenders to create professional-quality cocktails with precision and flair.
Understanding Cocktail Balance and Flavor Profiles
Cocktail balance is the harmony of sweet, sour, strong, and weak flavors. Achieving this equilibrium ensures drinks are neither overpowering nor bland. Flavor profiles are shaped by ingredients like citrus for acidity, sweeteners for depth, and spirits for complexity. A well-balanced cocktail engages the palate, with each sip revealing layers of taste. Mastering this concept allows bartenders to experiment creatively while respecting classic recipes. Understanding flavor profiles and balance is the foundation for crafting memorable drinks that delight the senses and leave a lasting impression.
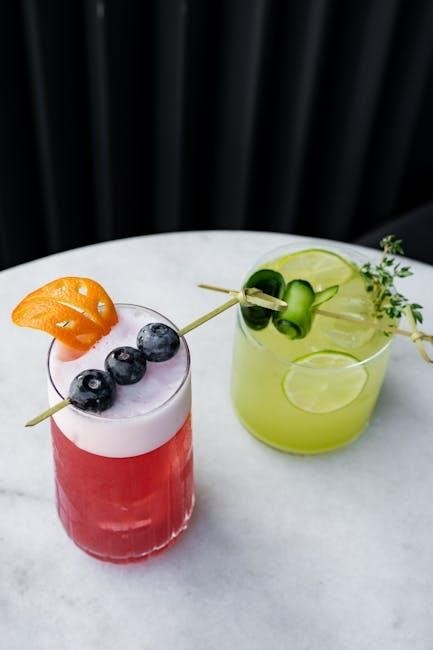
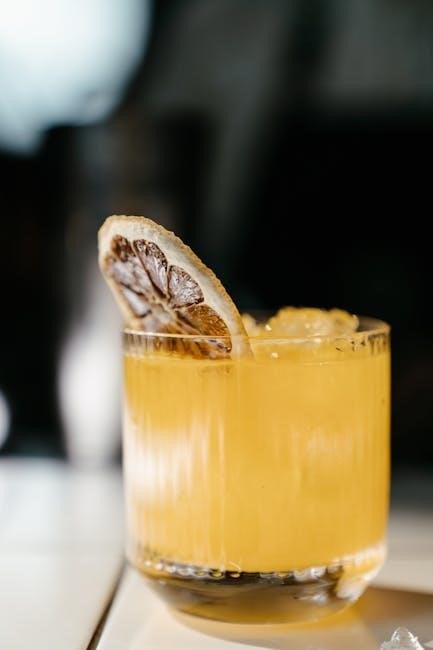
Classic Cocktail Recipes
Classic cocktails are timeless creations that every bartender should master. These iconic drinks, with their perfect balance of flavors, have stood the test of time and remain truly beloved by many.
The Bellini: A Sophisticated Italian Cocktail
The Bellini is a refined Italian cocktail created at Harry’s Bar in Venice in 1948 by Harry Cipriani. Traditionally, it combines Prosecco with white peach puree for a light, fruity flavor. The drink gained fame for its simplicity and elegance, making it a favorite among cocktail enthusiasts. While the original recipe uses peaches, modern variations experiment with other fruits like raspberries or strawberries. This versatility allows bartenders to innovate while preserving the drink’s timeless charm. The Bellini remains a must-know for any bartender, perfect for special occasions or casual gatherings.
Highball Cocktails: Jack and Coke, Scotch and Soda
Highball cocktails are simple, refreshing drinks that combine a base spirit with a mixer. The Jack and Coke pairs Jack Daniel’s whiskey with Coca-Cola, creating a sweet, fizzy blend. Scotch and Soda mixes whisky with sparkling water, opening up the liquor’s flavors. Both are easy to prepare and require minimal ingredients. These highballs are perfect for casual settings, offering a light, approachable taste. Their simplicity makes them staples in bartending, ideal for those seeking a straightforward yet satisfying drink. They remain popular for their ease of preparation and timeless appeal.
Lowball Cocktails: Lynchburg Lemonade, Black Russian
Lowball cocktails are short, flavorful drinks served over ice. The Lynchburg Lemonade combines Jack Daniel’s whiskey, triple sec, sour mix, and lemon-lime soda, creating a tangy, refreshing taste. The Black Russian, made with vodka and coffee liqueur, offers a rich, bold flavor. Both are easy to prepare and perfect for sipping slowly. These cocktails are great for casual gatherings, blending simplicity with depth. Their versatility makes them favorites among bartenders and drinkers alike, offering distinct flavor profiles that cater to various tastes.
Martinis and Their Variations
Martinis are iconic cocktails known for their elegance and simplicity. The classic Martini combines gin and dry vermouth, served chilled in a martini glass. Variations include the Vodka Martini, substituting vodka for gin, and the Espresso Martini, adding coffee liqueur and espresso. Other popular versions are the Appletini, with apple flavors, and the Dirty Martini, featuring olive brine. These variations showcase the versatility of the Martini, allowing bartenders to experiment with flavors while maintaining the drink’s sophisticated appeal. Each variation offers a unique twist, making martinis a timeless favorite among cocktail enthusiasts.
Tropical and Fruity Cocktails: Piña Colada, Mojito
Tropical and fruity cocktails bring vibrant flavors to any setting. The Piña Colada, made with pineapple juice, coconut cream, and rum, offers a creamy, sweet escape. The Mojito, blending mint leaves, lime juice, rum, and soda water, delivers a refreshing, zesty experience. These cocktails are perfect for warm weather, combining fresh fruits and herbs for revitalizing sips. Whether poolside or at a summer gathering, these drinks captivate with their bright flavors and cooling textures, making them timeless tropical classics adored by many.

Advanced Bartending Techniques
Elevate your mixology skills with advanced techniques like molecular mixology, layering, and spherification. These methods enhance flavor and presentation, creating unique, visually stunning cocktails.

Layering and Muddling: Tips and Tricks
Mastering layering and muddling enhances your cocktail game. Layering involves slowly pouring ingredients over a spoon to create visually stunning layers, as seen in drinks like the Tequila Sunrise. Muddling, meanwhile, is a technique where fruits, herbs, or spices are gently pressed in a shaker to release flavors without pulverizing them, perfect for crafting Mojitos or Old Fashioneds.
- Use a jigger for precise measurements.
- Add garnishes like mint or citrus for a professional touch.
These techniques add depth and artistry to your creations, making them stand out.
Molecular Mixology: Enhancing Cocktails with Science
Molecular mixology transforms cocktails into culinary art by applying scientific techniques. Methods like spherification (using sodium alginate and calcium chloride) create caviar-like bursts of flavor. Foam creation with lecithin adds unique textures, while gelification (agar agar) turns liquids into edible cubes. These innovations elevate cocktails, making them visually stunning and unforgettable. Experimenting with these techniques requires precision but opens a world of creativity for bartenders. Science meets mixology, redefining the way we experience drinks.
- Tools: Sodium alginate, calcium chloride, lecithin, and agar agar.
- Techniques: Spherification, foam creation, gelification.
Creating Signature Cocktails: Inspiration and Ideas
Signature cocktails are a canvas for creativity, blending personal style with unique flavors. Start by experimenting with seasonal ingredients or unusual flavor combinations to craft something distinctive. Consider the balance of sweet, sour, and bitter notes to create a harmonious taste. Techniques like layering or muddling can add depth. Draw inspiration from local produce, spices, or even desserts. Presentation matters—garnishes and glassware elevate the experience. Whether for a special event or a personal touch, your signature cocktail can tell a story and leave a lasting impression.
- Experiment with seasonal and exotic ingredients.
- Balance flavors for harmony.
- Elevate with creative presentation.
Seasonal and Themed Cocktails
Seasonal cocktails celebrate flavors tied to specific times of the year, blending fresh fruits, spices, and herbs. Themed drinks enhance events with creativity, offering unique twists for every occasion.
- Spring: Light, fruity, and floral.
- Summer: Refreshing, citrusy, and tropical.
- Fall/Winter: Warm, spiced, and comforting.
Spring Cocktails: Fresh and Fruity Recipes
Spring cocktails are all about embracing vibrant flavors and fresh ingredients. Highlighting seasonal fruits like strawberries, raspberries, and peaches, these drinks are light, refreshing, and perfect for warmer weather. Classic recipes include the Strawberry Daiquiri, blending rum, lime, and strawberry puree, and the Cucumber Gimlet, featuring gin, lime juice, and cucumber slices. Herbs like mint and basil also shine, adding bright, aromatic notes. These fruity and floral creations are ideal for spring gatherings, brunches, or simply sipping on a sunny afternoon.
Summer Cocktails: Refreshing Drinks for Hot Days
Summer cocktails are designed to beat the heat with refreshing, light, and revitalizing flavors. Classics like the Jack and Coke and Scotch and Soda offer crisp, fizzy refreshment, while tropical drinks such as Piña Coladas and Mojitos bring fruity and cooling vibes. Pairing citrusy ingredients like lime and grapefruit with mint or basil creates vibrant, thirst-quenching sips. These drinks are perfect for poolside gatherings, outdoor parties, or relaxing on a warm evening. Let the season inspire your mixology with cocktails that celebrate summer’s sun and fun.
Fall and Winter Cocktails: Warm and Spiced Recipes
Fall and winter cocktails embrace the cozy warmth of the seasons with spiced, rich, and comforting flavors. Drinks like the Spiced Apple Cider Mule (ginger beer, apple cider, cinnamon) and Cranberry Spice Mimosa (cranberry juice, orange liqueur, nutmeg) highlight seasonal ingredients. The Hot Buttered Rum (rum, butter, spices) and Spiked Hot Chocolate (whiskey, cocoa, marshmallows) offer indulgent warmth. These cocktails balance sweet, spicy, and savory notes, perfect for fireside gatherings or festive celebrations. Let the aromas of cinnamon, nutmeg, and cloves guide your mixology during the colder months.

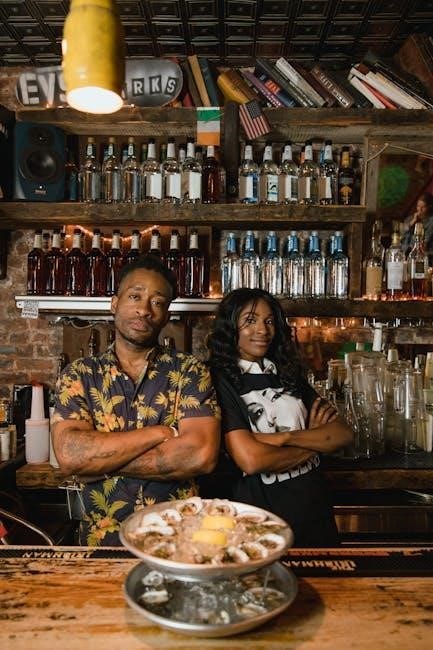
Resources for Bartenders
Explore essential guides, online forums, and workshops to refine your bartending skills; Cocktail recipe books, mixology communities, and hands-on training provide valuable tools for professional growth and inspiration.
Cocktail Guides and Recipe Books
Cocktail guides and recipe books are indispensable tools for bartenders, offering timeless recipes and mixology insights. From classic manuals like The Bartender’s Handbook to modern guides, these resources provide detailed instructions for crafting iconic drinks. Many books focus on seasonal flavors, molecular mixology, and signature creations, inspiring bartenders to innovate. Whether you’re a professional or a home mixologist, these guides ensure you master essential cocktails and stay updated on trends. They often include tips on flavor pairing, tool usage, and presentation, making them a cornerstone of every bartender’s library.
Online Communities and Forums
Online communities and forums are vibrant spaces where bartenders share knowledge, recipes, and techniques. Platforms like The Bartenders Guide and The Spruce Eats offer extensive libraries of cocktail recipes and mixology tips. These forums allow professionals and enthusiasts to collaborate, discuss trends, and learn from experts. Many communities feature seasonal guides, molecular mixology ideas, and inspiration for signature drinks. Engaging with these platforms helps bartenders stay updated on industry trends and refine their craft through shared experiences and innovative ideas.
Workshops and Training for Bartenders
Workshops and training programs are essential for honing bartending skills. Many offer hands-on sessions with expert mixologists, covering classic recipes, advanced techniques, and molecular mixology. These programs provide certifications, enhancing professional credentials. They also focus on networking, allowing bartenders to connect with industry leaders and learn about emerging trends. Whether refining foundational skills or exploring innovative methods, workshops empower bartenders to elevate their craft and deliver exceptional cocktails.
Cocktails are more than drinks; they’re experiences crafted with skill and passion. Bartending blends artistry, technique, and creativity, offering endless possibilities. From classics to modern twists, each cocktail tells a story. With practice, patience, and quality ingredients, anyone can master mixology. Explore, innovate, and savor the journey of creating memorable drinks. Whether behind a bar or at home, bartending is a rewarding craft that connects people and celebrates flavor. Cheers to the art of mixology and the joy it brings to every sip!