
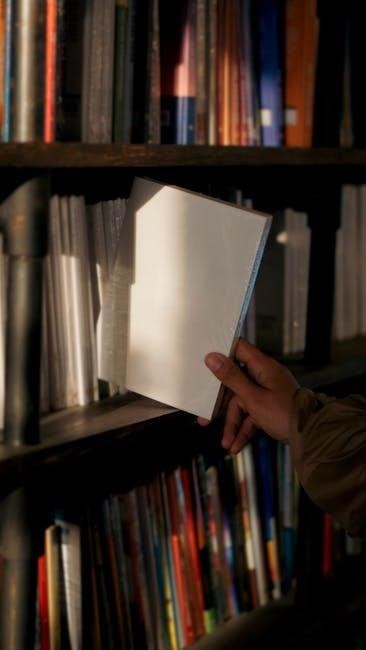
Discover the art of creating handmade books with easy-to-follow bookbinding tutorials. Perfect for beginners, these guides cover basic stitches, materials, and techniques to craft beautiful, functional books.
1.1 Brief History of Bookbinding
Bookbinding traces its origins to ancient civilizations, with early forms like clay tablets in Mesopotamia (circa 3000 BC) and papyrus scrolls in Egypt. The evolution of bound books began with the codex in Roman times, replacing scrolls for easier reading. Middle Ages saw monks preserving knowledge through hand-bound tomes. The Renaissance brought leather bindings, while the Industrial Revolution mechanized production. Each era introduced new materials and techniques, shaping the craft into a blend of artistry and functionality. Today, bookbinding is both a practical skill and a creative outlet, honoring its rich historical roots while inspiring modern innovations.
1.2 Why Learn Bookbinding?
Learning bookbinding is a rewarding hobby that combines creativity with practical skills. It allows you to craft personalized journals, preserve memories, and create unique gifts. This art form fosters patience and attention to detail while offering a sense of accomplishment. Whether you’re passionate about DIY projects or interested in historical crafts, bookbinding provides a fulfilling outlet for self-expression. It also enables you to repair and restore treasured books, giving them new life. With its versatility and artistic appeal, bookbinding is a skill that can be enjoyed for years, offering endless possibilities for innovation and creativity.
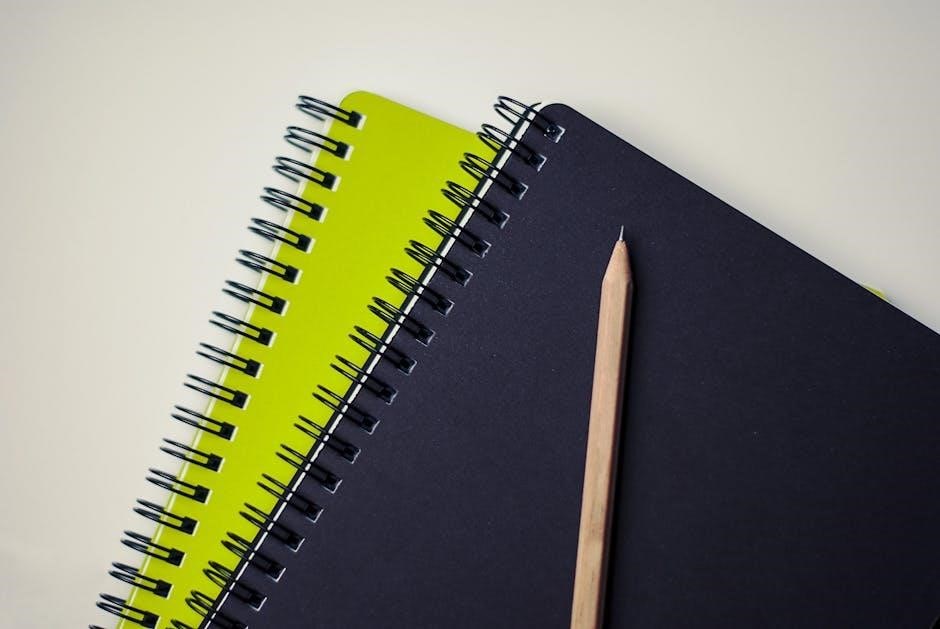
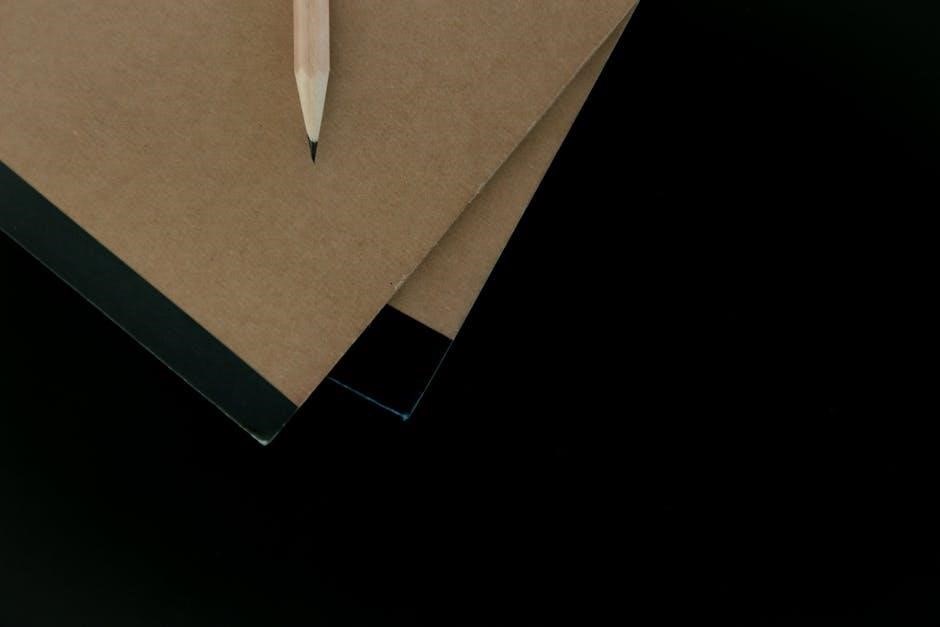
Essential Tools and Materials for Bookbinding
The craft requires basic tools like needles, threads, scissors, rulers, and bone folders. Materials include paper, glue, and book cloth for durable, professional results.
2.1 Basic Tools Every Beginner Needs
To start bookbinding, you’ll need a few essential tools. A sharp needle and waxed thread are crucial for sewing pages together. Scissors or a craft knife are necessary for cutting paper and materials. A ruler or cutting mat helps measure and trim accurately. A bone folder is used to crease and fold paper smoothly. Optional tools include an awl for piercing holes and a bookbinding needle for heavier stitching. These basic tools will help you master fundamental techniques and create sturdy, professional-looking books. Start with these essentials and expand your toolkit as you gain experience.
2.2 Recommended Materials for Starting Out
For beginners, select high-quality, versatile materials. Text weight paper is ideal for interior pages, while cardstock or cover weight paper works well for covers. Bookboard provides durability for hardcover books. Choose waxed thread for stitching, as it resists tangling. Fabric or book cloth can be used for decorative covers. Glue, such as PVA, is essential for bonding materials. Scrap paper is handy for practicing stitches. These materials ensure your projects are both functional and visually appealing, helping you build a solid foundation in bookbinding techniques and creativity;
Popular Bookbinding Methods for Beginners
Explore simple yet elegant techniques like the pamphlet stitch and Coptic stitch, perfect for creating handmade books. These methods are ideal for those new to bookbinding, offering a great starting point.
3.1 Pamphlet Stitch Tutorial
The pamphlet stitch is a simple and versatile technique for binding small books. It involves sewing pages together through a few holes, creating a sturdy and elegant finish. Ideal for beginners, this method requires minimal tools, such as a needle, thread, and a ruler. Start by folding your paper into signatures, then mark the sewing holes. Thread your needle and sew through each hole, securing the pages together. This technique is great for creating journals, zines, or notebooks. With practice, you can customize your project using different materials and embellishments, making each book truly unique and personal.
3.2 Coptic Stitch for Handmade Books
The Coptic stitch is a traditional binding method that creates a flexible, durable book with visible stitching. It allows the book to lie flat when opened, making it ideal for journals or sketchbooks. To begin, fold and gather your pages into signatures. Sew through the spine using a needle and thread, creating a chain stitch pattern. This technique requires minimal tools but offers a decorative and functional result. The Coptic stitch is perfect for handmade books, as it combines aesthetics with practicality. With practice, you can master this timeless method and create beautiful, long-lasting books tailored to your creative needs.
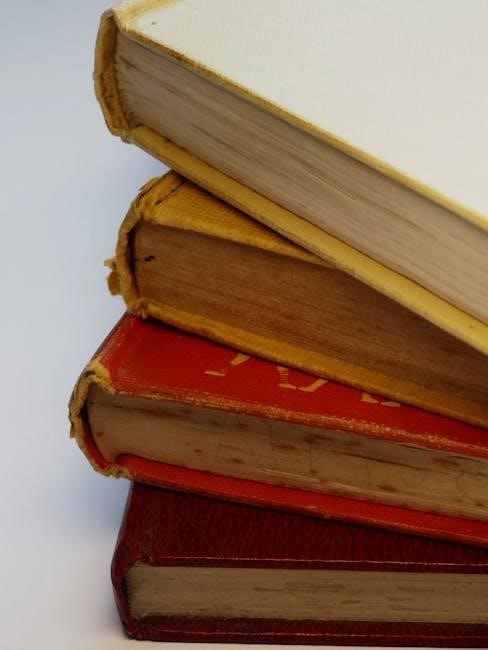
Advanced Bookbinding Techniques
Explore intricate methods like leather binding and hardcover tutorials. These advanced techniques require precision and patience but yield professional, long-lasting results for your handmade books.
4.1 Leather Binding Basics
Leather binding is a timeless technique that offers durability and elegance. Start by preparing your leather, ensuring it’s cut to size and conditioned for flexibility.
Next, attach the leather to the book’s spine, carefully aligning it with the covers. Use strong adhesives and precise tools for a secure fit.
Add decorative elements like gold tooling or embossing for a personalized touch.
Finish by reinforcing the joints and edges for a polished look.
With practice, leather binding becomes a sophisticated skill for any bookbinder.

4.2 Hardcover Bookbinding Tutorial
Create a professional-looking hardcover book with this step-by-step guide. Start by cutting and sanding your book boards to size.
Attach decorative paper or cloth to the boards using a strong adhesive like PVA glue.
Next, sew your pages together and attach them to the boards, ensuring a sturdy spine.
Reinforce the spine with glue and tape for extra durability.
Finish by adding a dust jacket or protective cover.
With patience and practice, you’ll craft a beautiful, long-lasting hardcover book perfect for gifts or personal use.
DIY Projects and Creative Ideas
Explore creative bookbinding projects like mini leather journals, washi tape books, and scrap paper notebooks. Perfect for gifts or personal use, these ideas inspire craftsmanship and uniqueness.
5.1 Making a Mini Leather Journal
Create a charming mini leather journal using simple tools and materials. Perfect for jotting notes or sketches, this project combines leather binding with a pamphlet stitch technique. Start by cutting a small piece of leather for the cover and fold paper into signatures. Punch holes for stitching and sew the pages together. Add embellishments like a ribbon bookmark or decorative stitching. This portable journal is ideal for gifts or personal use, offering a blend of functionality and artistic expression. It’s a great way to practice bookbinding basics while creating something truly unique.
5.2 Creating a Washi Tape Book
Transform a simple file folder into a vibrant washi tape book with this fun and easy project. Perfect for crafters of all skill levels, this tutorial guides you through creating a unique notebook using washi tape, paper, and basic tools. The process is quick, requiring minimal materials, making it ideal for gifts, sketches, or everyday notes. Customize the cover with intricate tape designs and reinforce the spine for durability. This project is a great way to explore your creativity while learning basic bookbinding principles. Its portability and charm make it a delightful addition to any stationery collection.
Tips and Tricks for Perfect Bookbinding
Master bookbinding by avoiding common mistakes, using high-quality materials, and practicing precision. Reinforce the spine for durability and experiment with techniques to achieve a polished, professional finish.
6.1 Common Mistakes to Avoid
Avoid improper hole punching and uneven stitching, which can weaken the book’s structure. Ensure pages are aligned and folded accurately to maintain consistency. Using low-quality materials, like thin paper or weak glue, can lead to a less durable book. Over-tightening stitches may cause pages to pucker, while under-tightening can result in loose leaves. Measuring incorrectly can throw off the entire project, so double-check measurements before cutting. Finally, rushing through steps often leads to errors, so take your time and work methodically for the best results.
6.2 How to Reinforce Your Book Spine
Reinforcing your book spine is essential for durability. Apply a strip of linen tape along the spine, pressing firmly to ensure adhesion. For added strength, use PVA glue, applying a thin layer evenly. Allow it to dry completely before handling. This method prevents the spine from weakening over time. For leather bindings, attach a reinforcing strip of strong fabric or leather along the spine edge; These techniques ensure your book remains sturdy and long-lasting, even with frequent use.
Online Resources and Communities
Explore YouTube for beginner-friendly bookbinding tutorials and channels like SeaLemon and nikthebooksmith. Join communities like the Handmade Book Club for support and shared creativity, enhancing your craft journey.
7.1 Best YouTube Channels for Tutorials
Discover expert guidance on bookbinding through top YouTube channels like SeaLemon, nikthebooksmith, and DAS Bookbinding. These channels offer step-by-step tutorials, from basic stitches to advanced techniques. SeaLemon’s clear instructions are perfect for beginners, while nikthebooksmith provides detailed diagrams and supply lists. DAS Bookbinding shares in-depth guides on traditional methods. These resources are invaluable for learners, helping you master the craft with confidence and creativity. Whether you’re making a simple pamphlet or a leather-bound journal, these channels provide the tools to succeed.
7.2 Joining Bookbinding Communities
Connecting with bookbinding communities enriches your crafting journey. Online forums, social media groups, and platforms like Facebook or Reddit host vibrant discussions. Joining the Handmade Book Club or local book arts groups provides inspiration and support. These communities share tips, showcase projects, and offer feedback. Participating in workshops or meetups allows you to learn from experienced bookbinders. Engaging with fellow crafters fosters creativity and motivation. Whether you’re a beginner or an advanced practitioner, these networks help you grow and refine your skills in a supportive and inspiring environment.
Thank you for exploring the world of bookbinding! With these tutorials, you’re ready to create stunning handmade books. Keep practicing, and consider joining communities for inspiration and growth.
8.1 Encouragement to Keep Practicing
Embrace the journey of bookbinding with enthusiasm and patience. Each project, no matter how simple, is a step toward mastering this timeless craft. Celebrate small victories, like perfectly aligned stitches or a beautifully reinforced spine. As you grow, explore new techniques and materials to expand your creativity. Remember, practice is key to improving your skills and discovering your unique style. Share your creations with others, and join communities for inspiration and support. The joy of bookbinding lies in both the process and the pride of creating something truly handmade.
8.2 Exploring Advanced Projects
Once comfortable with the basics, delve into advanced bookbinding techniques to refine your craft. Experiment with intricate stitches like the Coptic or long stitch, and explore leather binding for a professional finish. Discover how to create hardcover books with precision and elegance. These projects challenge your skills and unlock creative possibilities. With practice, you’ll master complex methods, producing truly unique and durable handmade books. Advanced projects not only enhance your expertise but also deepen your appreciation for the artistry behind bookbinding, inspiring you to push boundaries and innovate.